

Contents (17 sections)
- Before you start: will repainting actually solve your problem?
- Quick-reference: the 6-step method at a glance
- Step 1 - Strip everything that is not firmly attached
- Step 2 - Fill, repair, and smooth
- Step 3 - Sand everything with 120 grit
- Step 4 - Prime, and prime properly
- Step 5 - Apply topcoat in two thin coats, not one thick one
- Step 6 - Clean up, open and close, inspect
- Drying times by temperature and paint type
- Tools and materials for one average-sized window
- Weather and timing: when to paint and when to wait
- The factory secret that DIYers ignore: timber moisture
- What separates a good DIY repaint from a professional one
- When to call a professional instead
- Frequently asked questions
- Related reading
- Need factory-finished paint that outlasts DIY?
Six steps. One weekend. Ten to twelve years of life.
That is the realistic return on repainting your exterior wooden windows properly, using the same method our factory in Kalnciems applies on every frame that leaves the production line. Most homeowners rush through it in four steps and an afternoon, then wonder why they are back on the ladder again three years later. This guide shows how to do it once and forget about it until the 2030s.
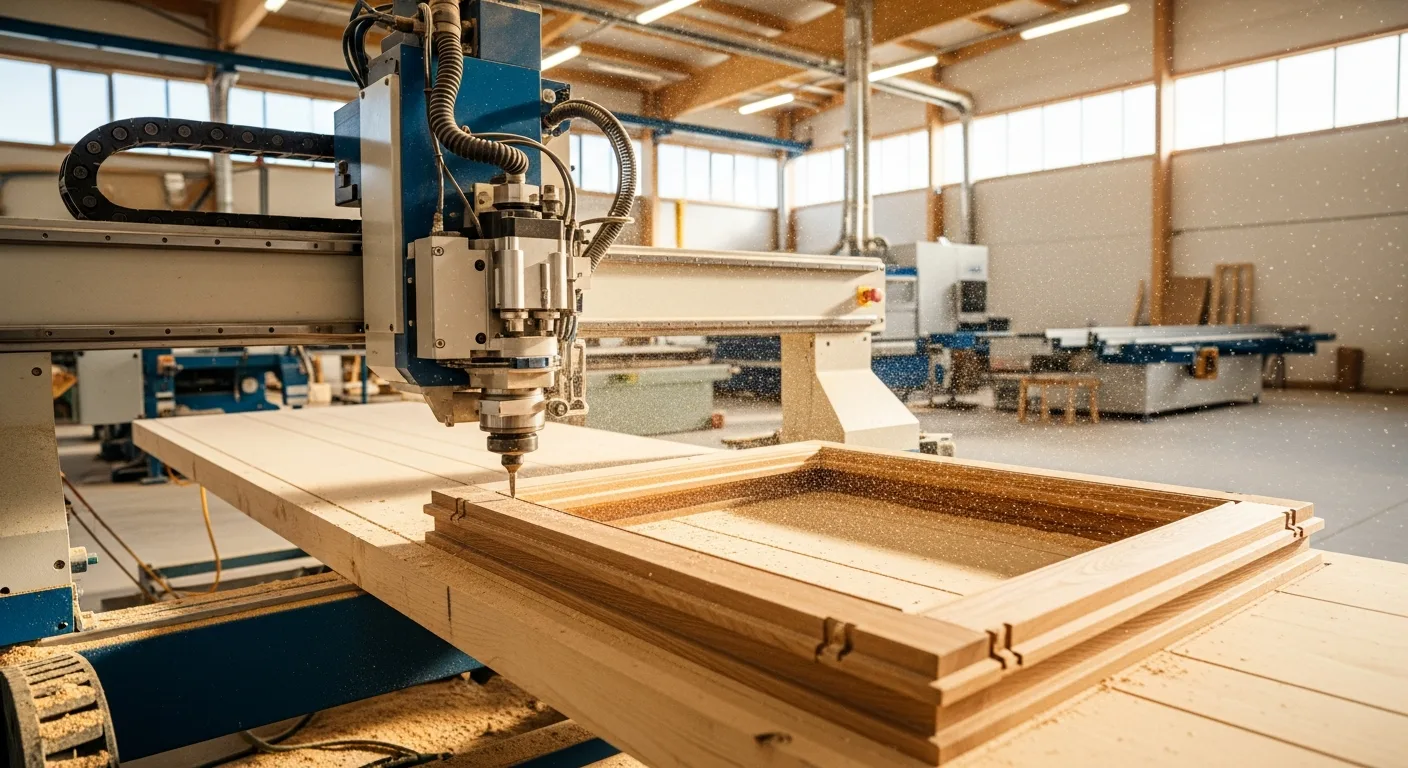
We are writing this as a manufacturer who coats 15,000 m² of timber windows per year for the Nordic and UK markets. The method that follows is not theory. It is the exact sequence we use, compressed into what a homeowner can realistically do with brushes and a weekend.
Before you start: will repainting actually solve your problem?
Walk round the house and tap each frame with a screwdriver handle. Sound timber makes a crisp knock. Soft, spongy timber makes a dull thump and the screwdriver sinks in. If you find more than about 15% soft timber on any elevation, repainting is the wrong answer. You will hide the rot for one season and then the frame fails structurally. At that point you need replacement, not paint.
Also check the glazing beads, the meeting rail on sash windows, and the bottom of each sash where water collects. If the wood here is black, weeping, or split, write off repainting and move straight to a replacement quote. Our Latvian-manufactured windows cost 30-40% less than equivalent Scandinavian brands, and the factory-applied coating lasts four times longer than the best DIY job on damaged substrate.
Two caveats worth flagging before buying paint. If your property is listed (Grade I, II* or II in England; Category A, B or C in Scotland), any change to the coating finish on external joinery technically needs listed building consent. Conservation officers typically require a linseed-oil paint (Allbäck, Selder & Co) rather than a modern acrylic, for reasons of reversibility and breathability. Historic England's guidance on traditional windows is the authoritative reference. If you are in a conservation area but not on a listed building, the rules are looser, but a quick call to your local planning office saves problems later.
If the timber is sound and the property is not listed, proceed.
Quick-reference: the 6-step method at a glance
| Step | What you do | Time per window | Drying wait |
|---|---|---|---|
| 1 | Strip loose paint with carbide scraper | 45 - 90 min | None |
| 2 | Fill and repair with epoxy filler | 30 min + cure | 30 min - 2 hrs |
| 3 | Full sand with 120 grit | 30 - 45 min | None |
| 4 | Prime (2 coats) | 20 min + 20 min | 4 - 6 hrs each |
| 5 | Topcoat (2 coats thin) | 25 min + 25 min | Overnight each |
| 6 | Remove tape, inspect, operate sash | 10 min | 48 hrs final cure |
Total active time per window: roughly 4-5 hours spread across a weekend. The cure times do the work while you sleep and have lunch.
Step 1 - Strip everything that is not firmly attached
The most common homeowner failure is painting over loose material. Whatever is loose today will lift tomorrow and pull the new coat with it.
Use a carbide-bladed paint scraper (Bahco 665 or similar, £15) to remove every flake, bubble, and chalky patch. Hold the blade at about 30° to the surface. Work with the grain. When you hit sound paint that refuses to lift, stop and feather the edge instead of fighting it.
For heavy accumulations on Georgian sashes or heritage frames, a hot-air gun set to 400°C will soften stubborn films faster than chemical strippers and without the mess. Keep moving; do not dwell on one spot longer than three seconds or you will scorch the timber.
After scraping, sand the bare patches with 80-grit paper to feather the edges smoothly into the surrounding sound paint. You are aiming for a gentle transition, not a cliff.
Step 2 - Fill, repair, and smooth
Open joints between the sash and the glazing bead, cracks running across the grain, small areas of pitted timber. These all need filling before primer goes on.
For homeowner-scale repairs, the right product is Repair Care DrySystem (two-part epoxy filler, £25 per tub from trade merchants). General-purpose decorator's filler shrinks back after the first winter and leaves a visible dip. Epoxy does not.
Apply slightly proud of the surface, let it cure (30 minutes to two hours depending on temperature), then sand flush with 80 grit followed by 120 grit. The transition from repair to sound timber should be invisible under your fingertip.
Seal the joint between frame and masonry with a grade-A silicone sealant. Do this after priming, not before, otherwise the primer will not bond along that edge.
Step 3 - Sand everything with 120 grit
Not just the repair patches. The entire frame. This step is the one that homeowners skip and it is the reason their paint peels in three years.
The purpose of sanding sound paint is not to remove it. It is to break the surface gloss so the new primer has something mechanical to grip. A random-orbit sander speeds this up enormously on flat surfaces; a folded sheet of paper handles the mouldings and the narrow sections by hand.
Dust every surface afterwards. A clean 50 mm paintbrush works. A tack cloth wiped gently along the grain picks up what the brush misses. Any sawdust trapped under the next coat forms a weak layer that fails first.
Step 4 - Prime, and prime properly
Bare wood must be primed. Not "touched up". Primed, twice, allowing each coat to cure.
Use the primer recommended by the topcoat manufacturer. Mixing brands is one of the five most common causes of coating failure in the field. If you have committed to TEKNOS Aquatop as your topcoat, use TEKNOS Antistain Aqua primer. If Sadolin Superdec is the topcoat, use Sadolin primer. This is not pedantry; the resin chemistries are formulated to lock together.
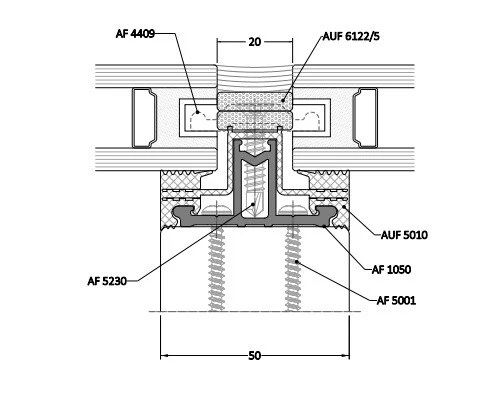
Apply primer with a 50 mm synthetic-bristle brush. On softwood, the first coat will disappear into the grain almost immediately. That is normal. Let it dry fully (manufacturer data sheet will specify, typically 4-6 hours), then apply a second coat. Any patch that still looks thirsty gets a third.
Sand lightly with 240 grit between primer and topcoat. Dust off. You are now ready for the topcoat.
Step 5 - Apply topcoat in two thin coats, not one thick one
This is where weekend painters go wrong. They load the brush, spread the paint thick to save time, and the topcoat sags, skins, and cures unevenly.
The correct technique: load the brush lightly (paint on the lower third of the bristle only), spread across the grain to distribute, then lay off with the grain in long smooth strokes. Keep a wet edge at all times; never stop halfway along a rail. The coat should look wet and full, not gooey and thick.
Let the first topcoat cure fully. For waterborne acrylics, this means overnight at 15°C or warmer. For alkyd oil-based, allow 24 hours. Do not rush this step. Recoating over tacky material produces lifting, cissing, and permanent optical defects you cannot paint out.
Apply the second topcoat the next day. Same brush technique, same thin-coat principle. On south-facing elevations that take the most UV punishment, consider a third topcoat. Fifteen minutes of extra brushing now saves you a full repaint in eight years.
Step 6 - Clean up, open and close, inspect
While the final coat is still slightly tacky, remove the masking tape from around the glass, pulling the tape back on itself at a 45° angle. This gives a clean paint edge. If you wait until the paint is hard, the tape tears the edge.
Open and close the sash every 30 minutes during the first four hours of drying. This prevents the paint from bonding the sash to the frame, which is a genuinely irritating mistake to discover the following morning.
Inspect the finished result in raking sunlight the day after. Any runs, missed spots, or uneven gloss are visible now and easy to correct with a light sand and a small amount of retouch. Left alone, they will be visible forever.
Drying times by temperature and paint type
The data sheet on the tin assumes laboratory conditions. Real weather changes the numbers substantially.
| Paint type | Touch dry at 20°C | Recoat at 20°C | Recoat at 10°C | Recoat at 8°C |
|---|---|---|---|---|
| Waterborne acrylic (TEKNOS Aquatop) | 1 hour | 4 - 6 hrs | 8 - 12 hrs | Not recommended |
| Waterborne alkyd/acrylic hybrid (Sadolin Superdec) | 2 hrs | 6 - 8 hrs | 12 - 16 hrs | Not recommended |
| Solvent-borne alkyd (trade gloss) | 4 hrs | 16 - 24 hrs | 24 - 36 hrs | 36 - 48 hrs |
| Primer (any brand) | 30 min | 2 - 4 hrs | 4 - 6 hrs | 6 - 8 hrs |
The practical rule: at temperatures below 10°C, do not paint. Below 8°C is explicitly outside the application window for most waterborne products, and you will get adhesion failure within 12 months.
Tools and materials for one average-sized window
| Item | Recommended brand | Cost | Lasts for |
|---|---|---|---|
| Carbide-bladed scraper 25 mm | Bahco 665 | £15 | 10+ windows |
| Sanding sheets (80/120/240 grit) | 3M or Mirka | £8 | 2-3 windows |
| Two-part epoxy filler | Repair Care DrySystem | £25 | 10+ windows |
| 50 mm synthetic brush | Purdy XL / Hamilton Perfection | £18 | 20+ windows |
| Low-tack masking tape 25 mm | FrogTape / Tesa Precision | £5 | 2-3 windows |
| Primer 0.5 L | TEKNOS Antistain Aqua | £15 | 1 window |
| Topcoat 0.5 L (2 coats) | TEKNOS Aquatop 2600 | £20 - £30 | 1 window |
Total first-time investment including tools: around £110. On subsequent windows the tools are already paid for, so the consumables work out around £55 per window.
For a full breakdown of paint brands that actually last, read our manufacturer's guide to exterior timber paint.
Weather and timing: when to paint and when to wait
Manufacturer data sheets are strict and homeowners treat them as suggestions:
- Air and surface temperature at least 8°C, and rising through the day, not falling toward evening.
- Relative humidity below 80%. After rain, give the timber a full 48 hours to dry before priming.
- No rain forecast for 24 hours after the final coat. Water on semi-cured acrylic leaves permanent blush marks.
- Start on the shaded elevation and work around with the sun. Direct sun skins the paint film before the depth has released its solvent or water, trapping it.
Practical consequence: in the UK, Baltic, or Nordic climates, you have a painting season of roughly late March through mid-October. Outside those months, wait. Cold-cure systems exist but are not the ones DIY painters will find in their local merchant.
The factory secret that DIYers ignore: timber moisture
Before your paint choice, your sanding grit, your brush brand or any other variable, one thing determines how long the repaint will last: the moisture content of the timber at the point you prime it. Our Kalnciems factory rejects any frame whose substrate tests above 14% moisture at the coating stage, checked with a calibrated probe at two separate quality points on the production line. That single rule - dry timber, not the day after rain - is what makes factory-applied coatings last 10-12 years without maintenance.
For a DIY repaint, the realistic equivalent: prime only when there has been at least 48 hours of dry weather and relative humidity has been below 80%. Test with a pin-type moisture meter if you have access to one (Brennenstuhl MD and Protimeter mini types cost around £40 and are actually useful for this). Repainting a frame that reads 18-20% moisture is the single most common DIY failure we see when inspecting customer windows for replacement quotes. It almost always lifts within 18 months, regardless of how good the paint product was.
What separates a good DIY repaint from a professional one
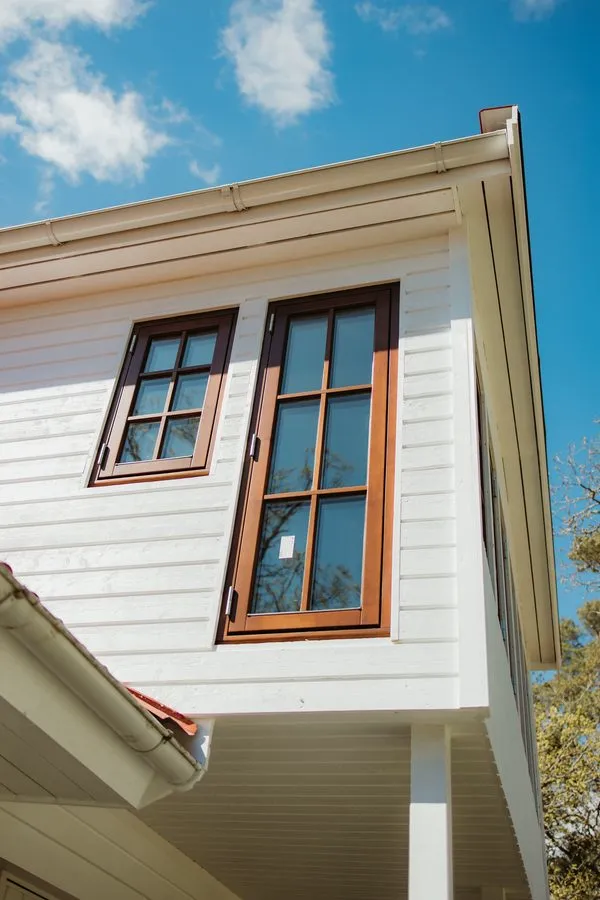
We have inspected hundreds of homeowner repaints over the years, usually during quotes for replacement. The predictable failure patterns:
- Skipped sanding between coats. Visible as a flat, dull gloss that looks tired within six months.
- Single thick topcoat instead of two thin. Produces sags, orange-peel texture, and uneven UV fade.
- Interior paint on the exterior elevation. Gone in two seasons. Zero exceptions.
- Painting onto silicone or failed putty. Paint does not bond to either. Lifts along the glazing line first.
- Ignoring the bottom rail and sill. These take 80% of the water and UV damage. Without an extra topcoat, they fail five years before the rest of the frame.
Avoid these five and your repaint will outlast most professional jobs.
When to call a professional instead
Painting your own windows is rewarding and saves money. It is not always the right call. Book a professional (or get a replacement quote) when:
- The windows are above the first storey and you do not own or want to hire proper scaffolding
- The frames are on a listed building where heritage-grade linseed-oil paint is specified by planning
- You have more than fifteen windows and a hard deadline (selling the house, letting the property)
- The rot check in the opening section reveals structural damage on three or more windows
- You tried it once, followed the guide, and the result is still disappointing - some people simply do not enjoy the task, and that is a reasonable reason to hire out
For context on what replacement actually costs versus continued maintenance, see our wooden windows vs uPVC cost comparison.
Frequently asked questions
How long does it take to paint a wooden window?
Around 4-6 hours of active work per window, spread over a weekend because of drying times between coats. For a full house of ten windows, allow three to four weekends if you are doing it yourself in good weather.
Can I paint wooden windows without removing the sashes?
Yes, and we recommend leaving them in place. Removing sashes invites damage to the sash cords on traditional sashes and to the hinge system on casements. Mask the glass, paint in place, and cycle the sash every 30 minutes during drying to prevent sticking.
What happens if I paint in rain?
Waterborne paint beads up and runs. Alkyd paint develops blush marks and uneven gloss. Neither will cure correctly and you will need to strip and restart. If the forecast is uncertain, postpone.
Should I paint the inside of the windows too?
Only if they need it. Interior paint on exterior wooden windows is typically in better condition because there is no UV or rain. Inspect, clean, and touch up as required. A full interior repaint is rarely needed more than once every 15-20 years.
What paint colour lasts longest?
White and pale cream colours reflect solar heat and UV, and their coatings last longest, 10 to 12 years between maintenance. Dark colours absorb heat, expand the wood, and stress the paint film. A dark frame needs a maintenance coat every 6-8 years. If you want a dark colour, budget for more frequent maintenance.
Can I spray instead of brush?
Only if you are set up for it. HVLP spraying gives a finer finish but needs full masking of glass and surroundings, a compressor, and practice. For a one-off DIY job, brushing with a quality synthetic brush gives 95% of the quality at 5% of the kit cost.
Related reading
- The best paint for exterior wooden windows: manufacturer guide 2026
- Wooden windows vs uPVC: real cost comparison 2026
- How long do timber windows last? 60+ years explained
- Our factory-coated window profiles (ECO 68, ECO 92, Premium 115)
Need factory-finished paint that outlasts DIY?
Our windows leave the factory with a four-coat TEKNOS waterborne system applied in controlled humidity. The first maintenance coat is due at year 8-12. Nothing you can do with a brush outside matches that durability. If you are at the point where the DIY result no longer justifies the weekend, call Uldis on +371 25 152 244 for a factory specification quote.
Written by Uldis Tretjakovs, Technical Manager at Windows Latvia, based on the coating procedure the factory has applied since 2005. For painting questions specific to your windows, email [email protected].
Need Expert Advice?
Our team can help you choose the right windows for your project - from energy ratings to installation.
Get a Free Quote